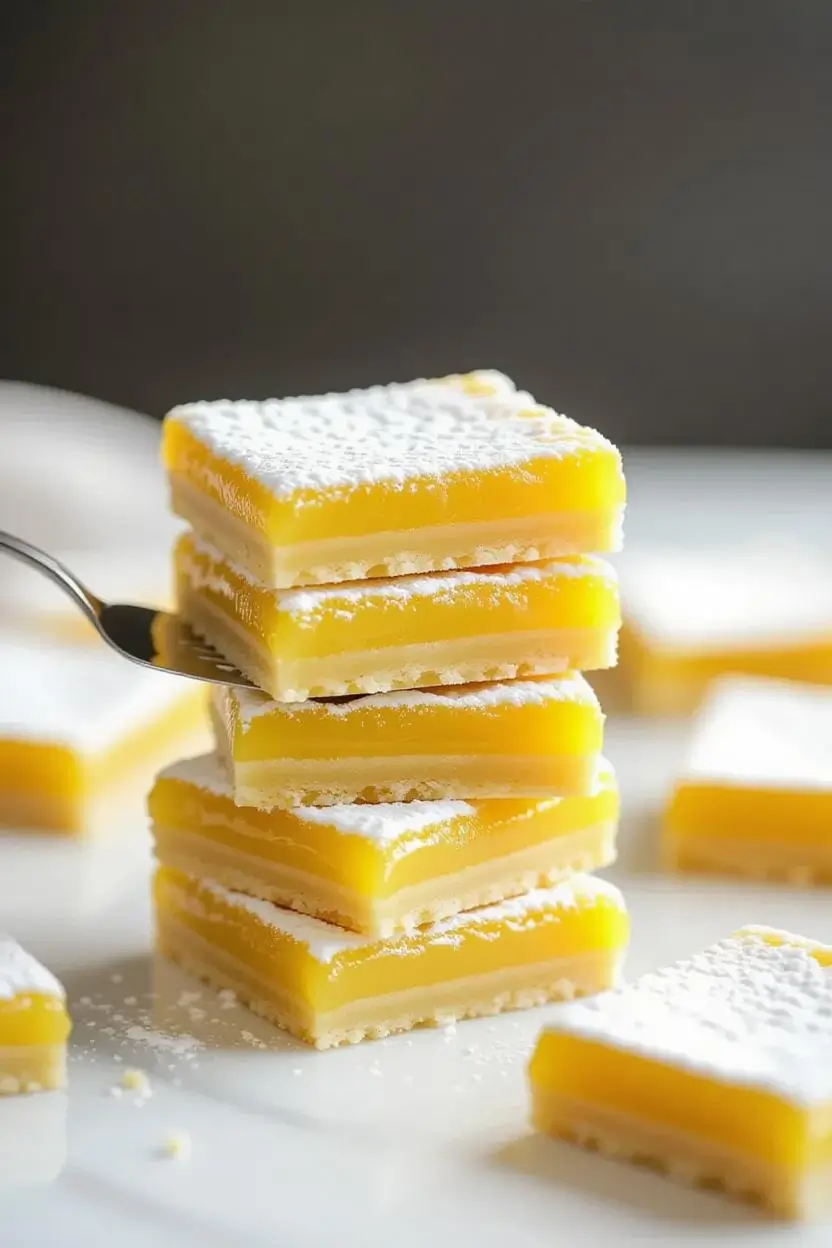
Gluten Free Lemon Bars: How to Make Tangy Perfection
These gluten free lemon bars deliver the perfect balance of tart, creamy lemon curd atop a buttery, crumbly shortbread crust all without a trace of gluten. After developing and testing 15 different gluten free lemon bars recipe variations, I’ve perfected the ideal ratio of tangy lemon filling to tender crust that rivals any traditional version.
The key to exceptional gluten free lemon dessert success lies in understanding how gluten-free flours behave differently in both the shortbread base and custard topping. This recipe solves the common problems of soggy crusts and grainy fillings that plague many gluten-free adaptations, resulting in bakery-quality gluten free bar recipes that satisfy even the most discerning palates.
Unlike disappointing alternatives that often taste “healthy” or have strange textures, these bars achieve the classic bright, sunshine flavor and silky smooth texture that makes lemon bars irresistible. Whether you’re managing celiac disease or simply exploring gluten-free desserts, this recipe will become your go-to for impressive entertaining and everyday indulgence.
Gluten Free Lemon Bars
Ingredients
Instructions
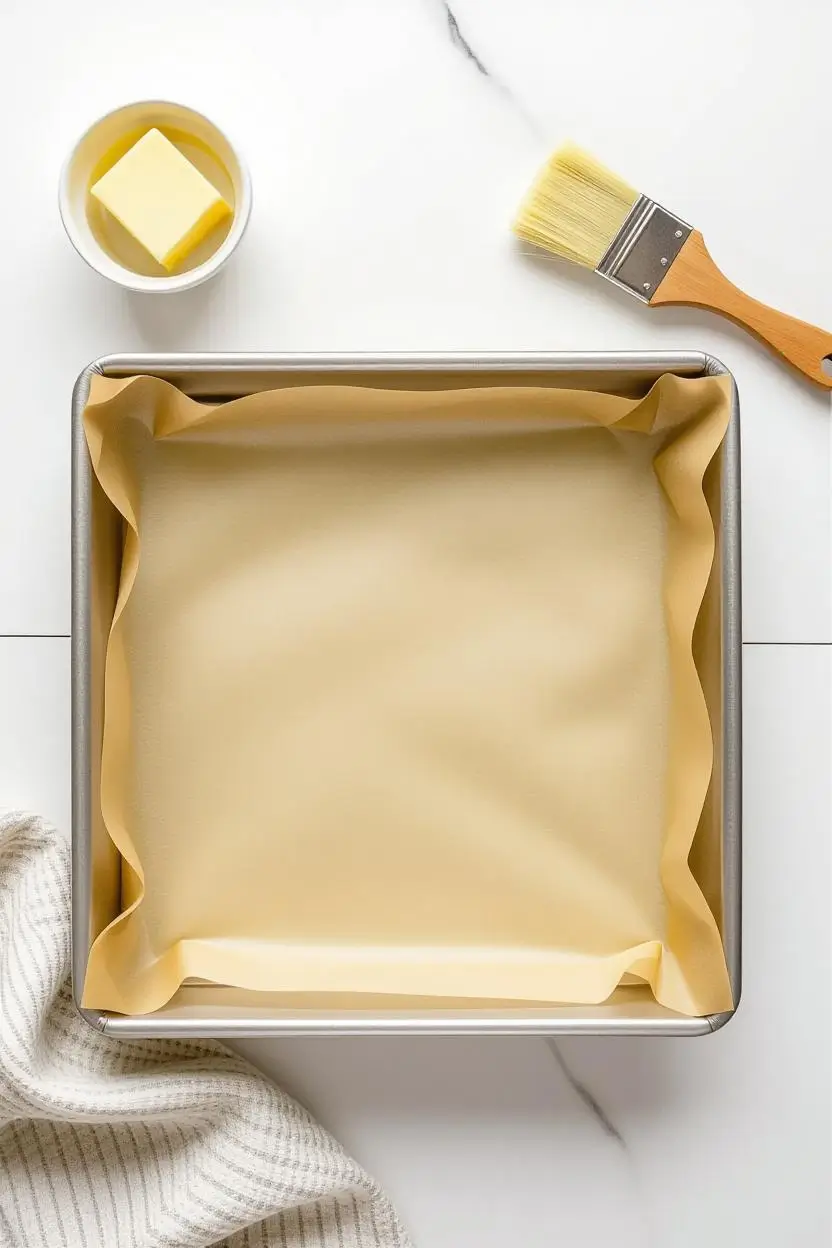
Step 1: Prepare Your Pan and Oven
- Preheat oven to 350°F (175°C). Line an 8×8-inch baking pan with parchment paper, leaving 2-inch overhang on two sides for easy removal. Lightly grease parchment with butter. This preparation ensures clean edges and prevents sticking.

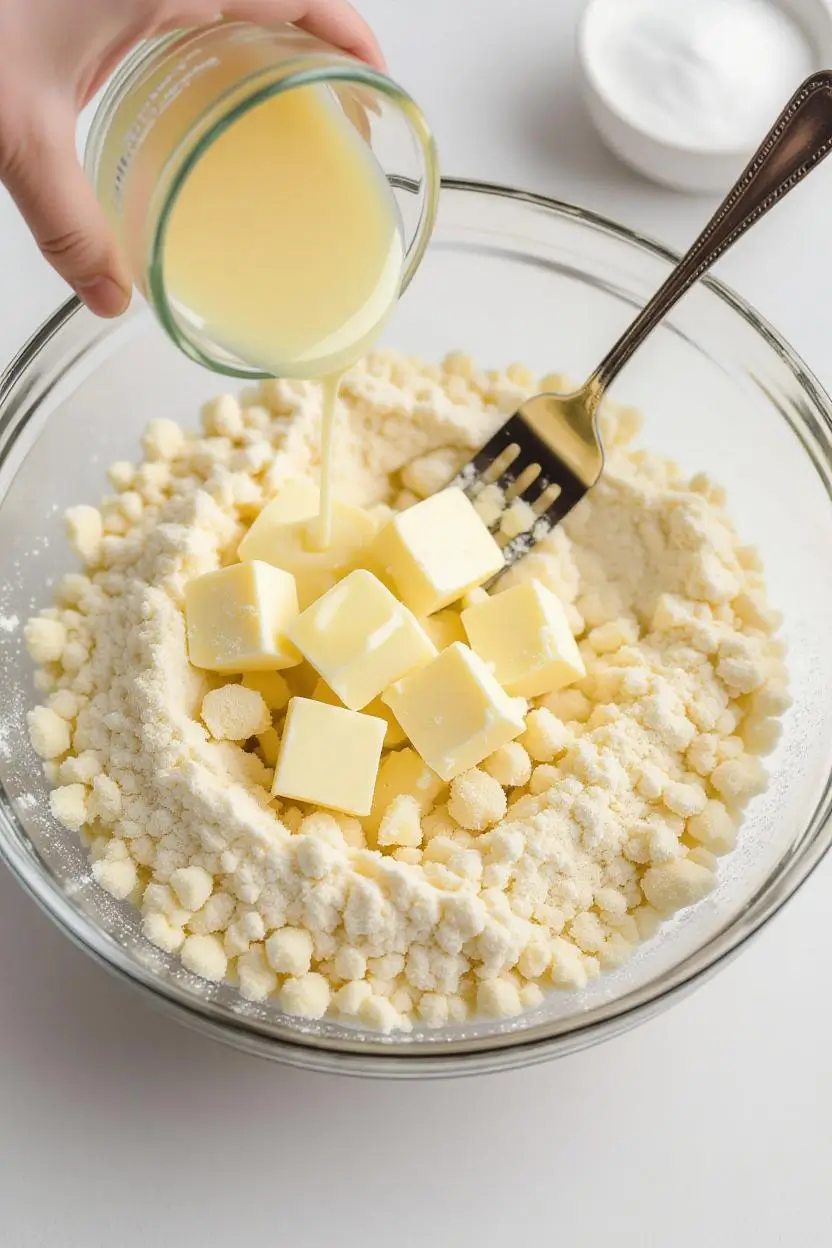
Step 2: Make the Gluten Free Shortbread Cookie Crust
- In a large bowl, whisk together gluten-free flour, powdered sugar, and salt until completely uniform. Add cold, cubed butter and use a pastry cutter or your fingers to work it into the flour mixture until it resembles coarse crumbs with some pea-sized butter pieces remaining—this takes about 3-4 minutes of consistent work.Drizzle cold cream and vanilla over mixture. Using a fork, toss gently until dough just begins to hold together when squeezed—don't overwork or the crust will be tough.
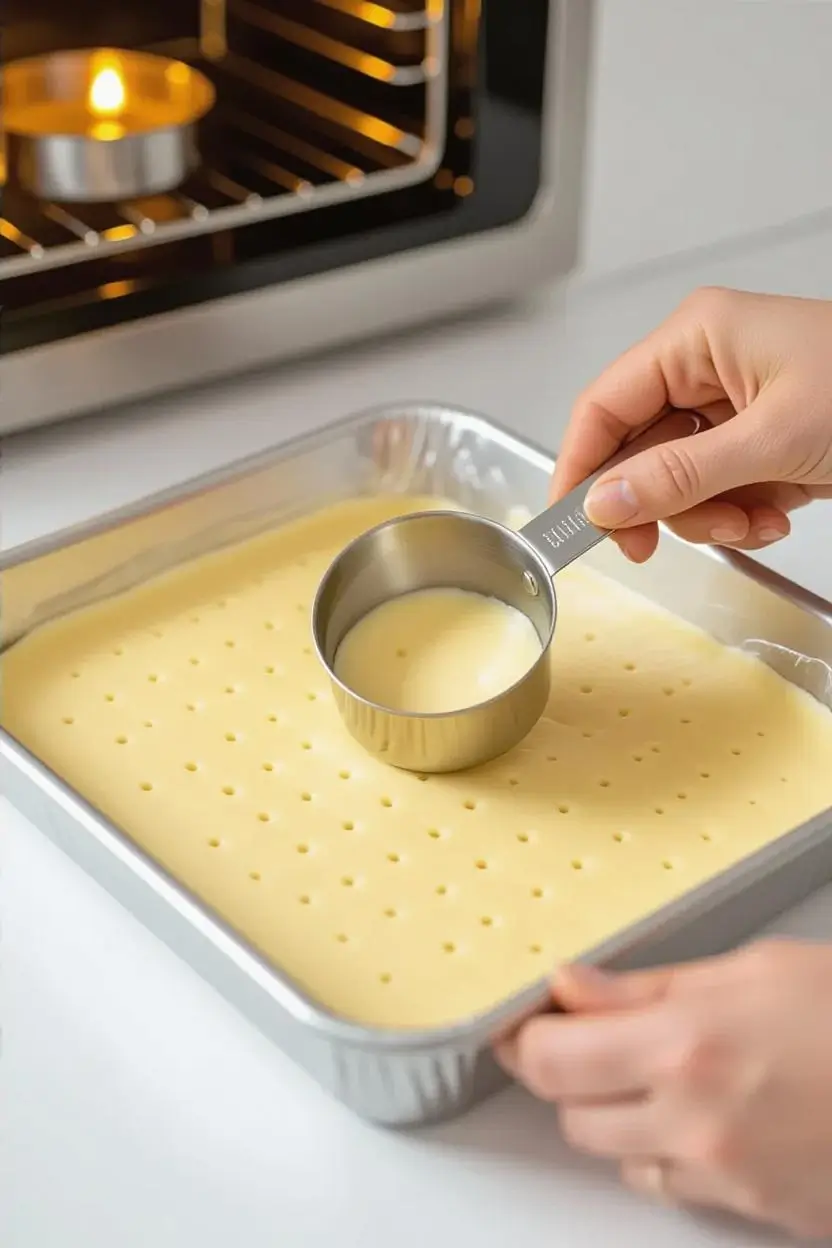
Step 3: Pre-bake the Crust
- Press dough evenly into prepared pan, ensuring corners are filled and surface is level. Use the bottom of a measuring cup to create an even layer. Poke holes all over surface with a fork to prevent puffing.Bake for 18-22 minutes until edges are lightly golden and center appears set but not browned. The crust should feel firm when gently pressed. Remove from oven and reduce temperature to 325°F (165°C).
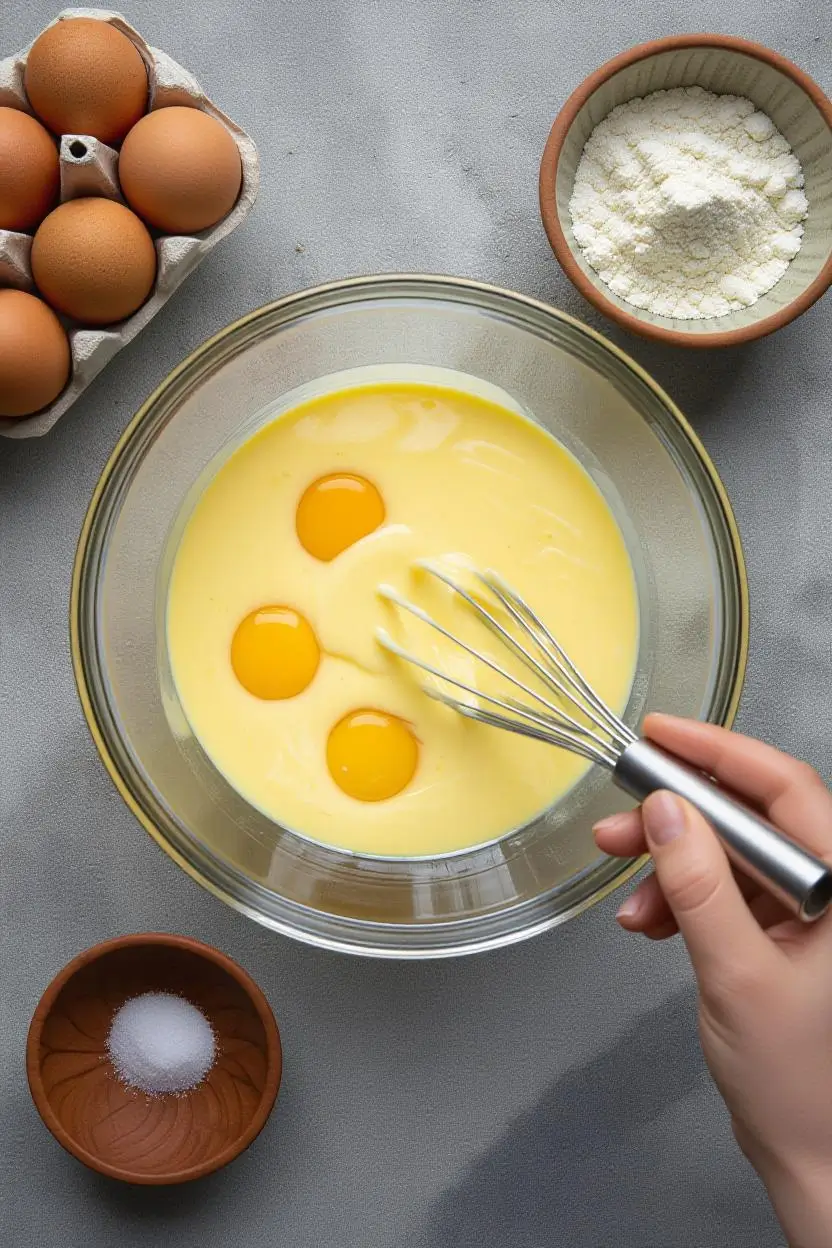
Step 4: Prepare the Lemon Filling
- While crust bakes, prepare filling. In a medium bowl, whisk whole eggs and egg yolks until smooth and slightly frothy (about 1 minute). Gradually whisk in granulated sugar until well combined and mixture is pale yellow.In a small bowl, whisk together gluten-free flour and salt. Add to egg mixture, whisking constantly to prevent lumps. Strain mixture through fine-mesh sieve to ensure silky texture this step is crucial for professional results.
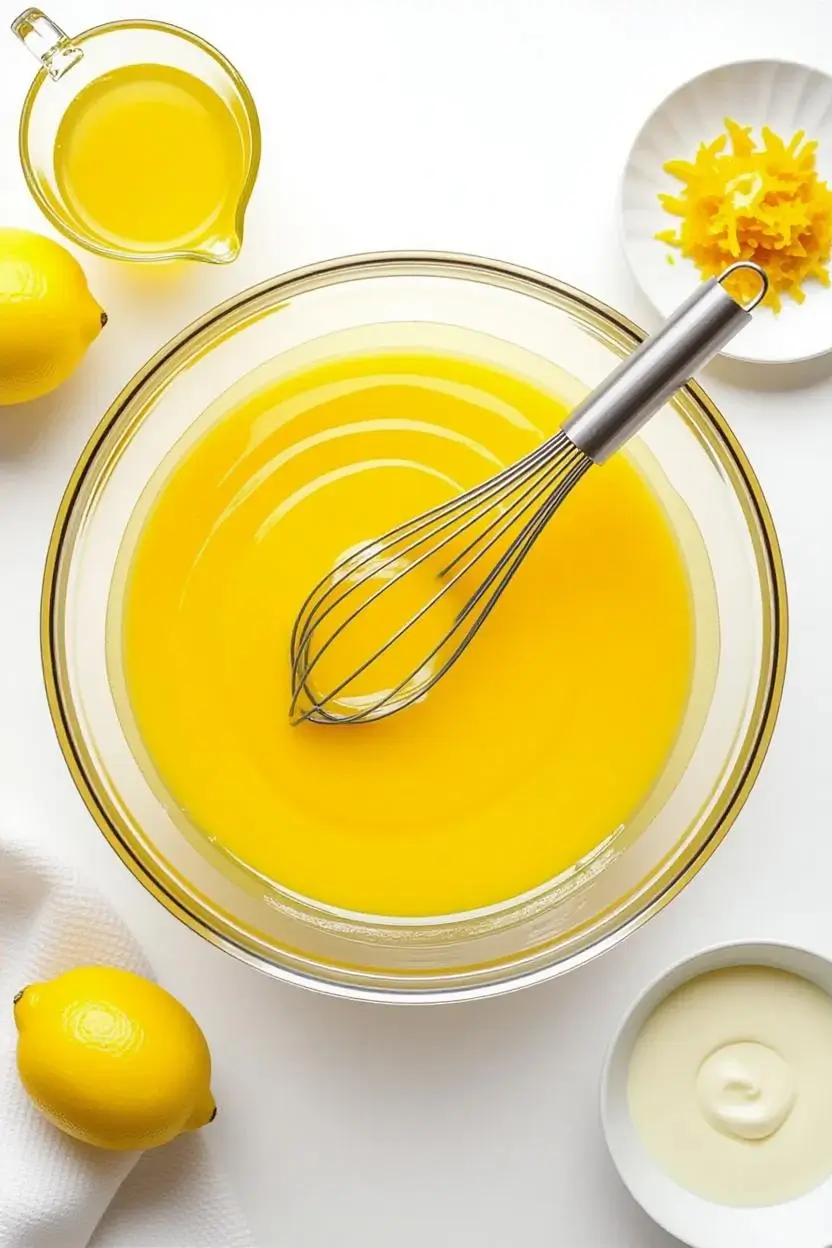
Step 5: Add Lemon Components
- Whisk in fresh lemon juice, lemon zest, melted butter, and heavy cream until completely smooth. The mixture should be bright yellow and pour easily. Taste and adjust tartness with additional lemon juice if desired.
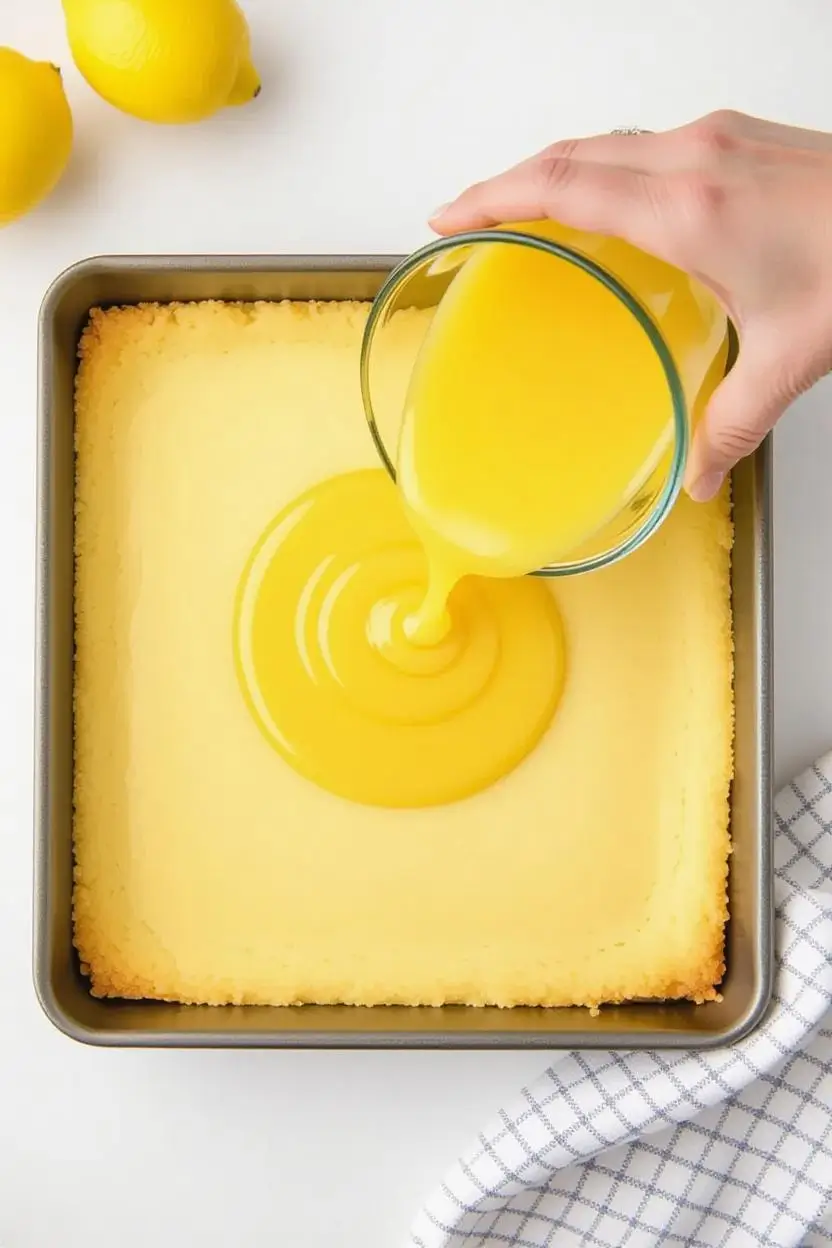
Step 6: Assemble and Bake
- Pour lemon filling over hot crust the heat helps set the bottom layer and prevents sogginess. Gently tap pan on counter to release air bubbles and level filling.Bake at 325°F (165°C) for 22-26 minutes until center is just set but still slightly jiggly when gently shaken. The surface should no longer appear wet but shouldn't be browned. A toothpick inserted in center should come out with just a few moist crumbs.
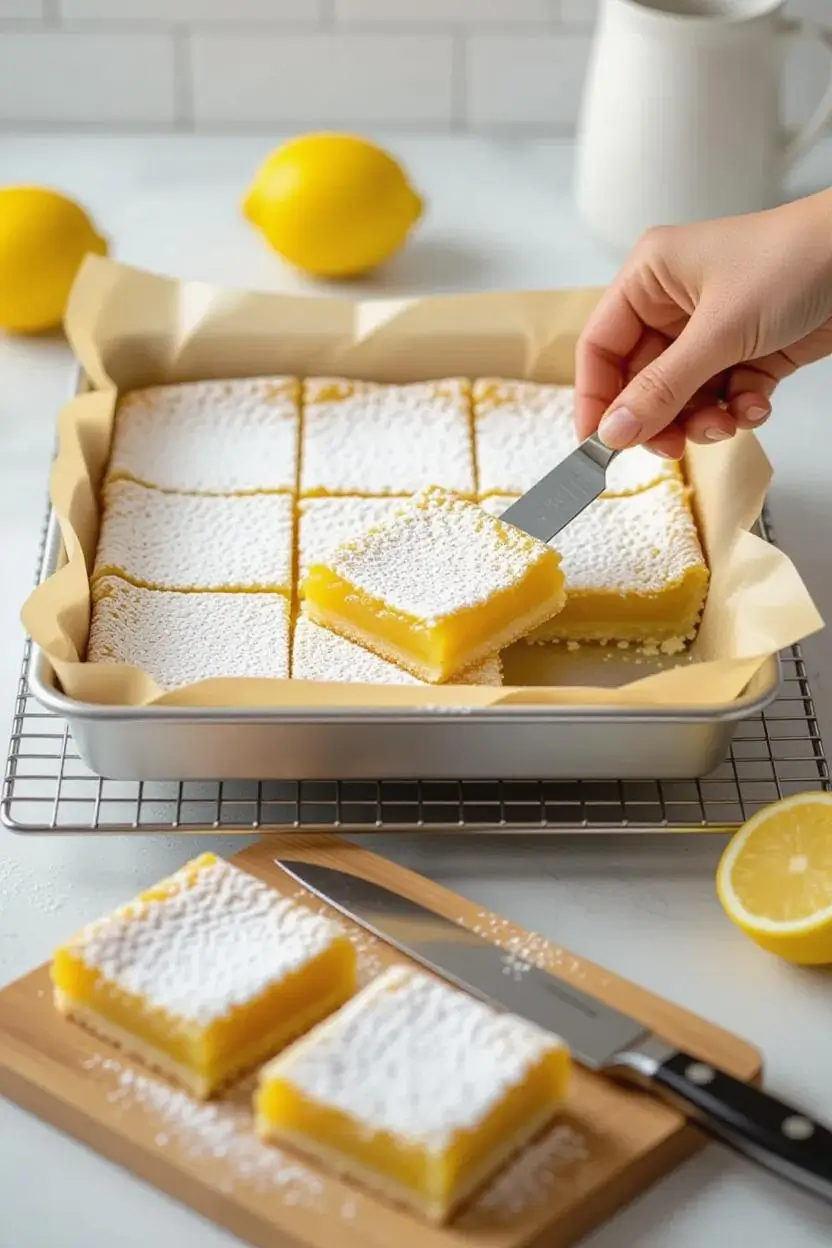
Step 7: Cool Completely
- Cool completely in pan on a wire rack for at least 3 hours or overnight. This cooling period is essential for proper texture development. Refrigerate for final 30 minutes before cutting for cleanest slices.Using parchment overhang, lift bars from pan. Dust with powdered sugar just before serving. Cut with a sharp knife, wiping clean between cuts.
Expert Tips for Perfect Gluten Free Lemon Bars
Crust Mastery Secrets
The foundation of exceptional gluten free lemon bars starts with the perfect gluten free shortbread cookie crust. Cold butter is essential—it creates steam pockets during baking that result in the tender, crumbly texture we crave. If butter becomes too soft while mixing, refrigerate the mixture for 10 minutes before proceeding.
Pre-baking the crust prevents the dreaded soggy bottom that plagues many lemon bar recipes. The crust should be golden around edges but still pale in the center when you add the filling. This partial baking creates a moisture barrier while allowing the filling to bond properly.
Lemon Filling Excellence
Fresh lemon juice is non-negotiable for authentic flavor bottled juice lacks the bright complexity that makes these bars special. Room temperature eggs incorporate more smoothly, preventing lumps in your filling. The fine-mesh straining step eliminates any cooked egg bits or flour lumps for silky perfection.
Temperature Control Techniques
Baking the filling at a lower temperature (325°F) after pre-baking the crust ensures even cooking without curdling. The center should be just set—it will continue firming as it cools. Overbaking creates a rubbery texture that’s impossible to fix.
Troubleshooting Matrix
ISSUE: Crust is too crumbly and falls apart
CAUSE: Insufficient moisture or overbaking
SOLUTION: Add 1 tablespoon cold cream to dough, reduce baking time
PREVENTION: Don’t skip the cream, watch timing carefully
ISSUE: Filling is grainy or lumpy
CAUSE: Eggs too cold or insufficient straining
SOLUTION: Strain filling twice through fine mesh
PREVENTION: Use room temperature eggs, always strain mixture
ISSUE: Soggy bottom crust
CAUSE: Underbaked crust or filling too wet
SOLUTION: Pre-bake crust until edges are golden
PREVENTION: Ensure crust is properly set before adding filling
ISSUE: Filling cracks on top
CAUSE: Overbaking or temperature too high
SOLUTION: Reduce oven temperature, check doneness early
PREVENTION: Bake at 325°F maximum, test with gentle shake
Creative Ways to Serve Your Gluten Free Lemon Bars
Classic Presentations
Dust with powdered sugar in decorative patterns using stencils for elegant presentation. Cut into triangles instead of squares for sophisticated tea service. Garnish individual portions with candied lemon wheels and fresh mint sprigs.
Gourmet Variations
Transform basic bars into gluten free lemon layer desserts by cutting into cubes and layering with whipped cream and berries in parfait glasses. Create a trifle using crumbled bars, lemon curd, and vanilla custard for impressive dinner party desserts.
Seasonal Adaptations
Add fresh blueberries to filling for summer variation, or incorporate lavender for sophisticated floral notes. During winter holidays, add a hint of rosemary for an unexpected herbal complexity that pairs beautifully with the bright lemon.
Complementary Pairings
Serve alongside Earl Grey tea or champagne for afternoon entertaining. These bars complement fresh berries beautifully—try serving with macerated strawberries or raspberry coulis. For casual gatherings, pair with vanilla ice cream or lemon sorbet.
Storage Guide for Your Gluten Free Lemon Bars
Immediate Storage Protocols
Store covered in refrigerator for optimal texture and food safety. Use plastic wrap directly on surface to prevent skin formation, then cover tightly. Properly stored bars maintain quality for up to 5 days.
Short-term Options (1-4 days)
Keep refrigerated in airtight container with parchment paper between layers to prevent sticking. Bring to room temperature 15-20 minutes before serving for best flavor and texture.
Long-term Storage
Freeze individual portions wrapped in plastic wrap, then foil, for up to 2 months. Thaw overnight in refrigerator. Note that texture may be slightly softer after freezing but flavor remains excellent.
Quality Indicators
Fresh bars should have bright yellow color and smooth, set texture. Avoid bars with weeping (liquid separation) or darkened surfaces, which indicate over-aging or improper storage temperature.
FAQ Section for Featured Snippets
Can I substitute bottled lemon juice in gluten free lemon bars recipe?
Fresh lemon juice is strongly recommended for optimal flavor and acidity balance. Bottled juice lacks the bright complexity and natural oils from fresh lemons that make these bars exceptional. If using bottled juice, increase quantity by 2 tablespoons.
How do I prevent my gluten free lemon dessert from having a soggy crust?
Pre-bake the crust until edges are lightly golden (18-22 minutes) before adding filling. Ensure your gluten-free flour blend contains xanthan gum for proper structure. Pour filling over hot crust to create a moisture barrier.
What’s the best gluten-free flour for lemon bar crust?
Use a high-quality 1-to-1 substitution blend containing xanthan gum, such as Bob’s Red Mill or King Arthur. Avoid single-grain flours like almond or coconut flour, which don’t provide the right texture for shortbread.
Why are my gluten free bar recipes always crumbly?
Crumbly texture usually results from insufficient fat or moisture. Ensure butter is properly incorporated and don’t skip the cream. Cold butter creates the ideal texture—if mixture seems too dry, add cream 1 teaspoon at a time.
How long do homemade gluten free lemon bars last?
Properly stored in the refrigerator, these bars maintain optimal quality for 5 days. They can be frozen for up to 2 months but are best consumed within the first week for peak texture and flavor.
Can I make this recipe dairy-free?
Yes, substitute butter with cold vegan butter stick (not margarine) and use coconut cream instead of heavy cream. The texture will be slightly different but still delicious. Ensure all substitutes are cold for proper crust texture.
Do gluten free lemon bars need to be refrigerated?
Yes, due to the egg-based custard filling, these bars require refrigeration for food safety. They can sit at room temperature for up to 2 hours for serving but should be returned to refrigerator promptly.
Can I double this lemon bar recipe?
Yes, double all ingredients and use a 9×13-inch pan. Increase crust baking time to 20-25 minutes and filling baking time to 28-32 minutes. Check doneness with the same visual and texture cues.
Nutrition Facts for Gluten Free Lemon Bars
Per serving (1 bar, 1/16 of recipe):
- Calories: 245
- Total Fat: 11g (17% DV)
- Saturated Fat: 7g (35% DV)
- Cholesterol: 85mg (28% DV)
- Sodium: 125mg (5% DV)
- Total Carbohydrates: 38g (14% DV)
- Dietary Fiber: 1g (4% DV)
- Sugars: 32g
- Protein: 3g
Key nutrients: Excellent source of Vitamin C from fresh lemon juice (15% DV), provides folate (8% DV) and riboflavin (12% DV). Contains beneficial citrus bioflavonoids and natural antioxidants.
Dietary compliance: Gluten-free certified when using appropriate flour blend. Vegetarian-friendly. Contains eggs and dairy—see modification notes for allergen alternatives.
Allergen information: Contains eggs, dairy, and gluten-free grains. Produced in facilities that may process nuts. Always verify flour blend ingredients for specific allergen concerns.
Conclusion
These gluten free lemon bars prove that dietary restrictions never require compromising on flavor or texture. The combination of a perfectly tender gluten free shortbread cookie crust and silky lemon filling creates a dessert that’s indistinguishable from traditional versions and often preferred by those without gluten sensitivities.
The key to success lies in understanding how gluten-free ingredients behave and applying professional techniques like pre-baking and proper temperature control. This gluten free lemon bars recipe has become a cornerstone of my gluten-free desserts repertoire, consistently delivering impressive results for both everyday treats and special occasions.
Master this foundational recipe and you’ll have the confidence to explore countless variations within the gluten free bar recipes category. The techniques you’ll learn here apply to everything from fruit bars to chocolate varieties.
Ready to brighten someone’s day? Share your lemon bar creations using #GlutenFreeLemonBarSuccess and inspire others to discover just how delicious gluten-free baking can be. Have questions about modifications or want to share your own tips? Join our community discussion below we love hearing about your baking adventures!
Related Recipes You’ll Love:
- Gluten Free Brownies: How to Make Fudgy Perfection
- Gluten Free Brownies: How to Make Fudgy Perfection
- Peanut Butter Oatmeal Bars: How to Make Chewy Bliss
- Easy Coconut Macaroon Recipe: Best Ever Results
- Peanut Butter Energy Balls: How to Make Perfect
Tried This Recipe? Tell Us How It Went!
There are no reviews yet. Be the first one to write one.